Open topic with navigation
Serial Section Reconstruction: One Image with Multiple Sections (Procedure 2)
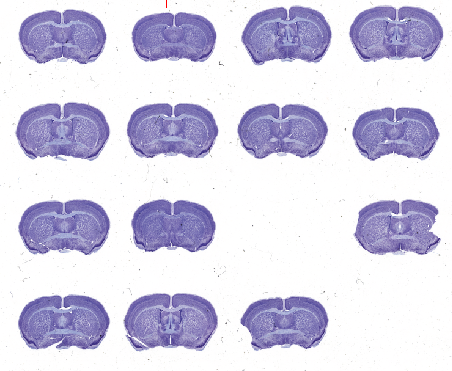
Use these instructions if you have one image file with multiple sections.
In this procedure, all the sections are delineated first. If you opt to delineate and align one section at a time instead, consult this alternate procedure.
 Watch a partial demonstration on YouTube.
- File> Image Open this type of image→.
- Open Macro View
 and Image Organizer
 .
.
- Delineate the sections using your preferred method:
- Optional: Mark cells of interest using Mark Detected Objects
 .
.
- Open the Serial Section Manager.
- Click the New Section icon
 to create as many sections as needed for the reconstruction.
- Assign each contour to a serial section (you need to know in which order your sections have been mounted).
- Select Where Is
 and Edit
  to see the contours only.
 - Click on a contour.
- Right-click and select Place Contour in Section. The Select Section window opens.
- Select the appropriate section.
- Repeat Steps b-d for each successive section.
- Turn off the Where Is and Edit modes by clicking their icons again.
- Press CTRL-F to align all the sections.
- Alignment is performed based on the midpoint of each individual contour.
- Press CTRL-F again to return to the display of contours over the different sections.
- Visualize the reconstruction in 3D provided that the sections are sufficiently apart in z.
 Only images that are not in virtual image mode can be displayed with 3D Visualization.
- Click the 3D Visualization icon
 .
. - Select Surface Reconstruction from the Contours options.
- Rotate the reconstruction.
 Related Topics
Microlucida 3 | MBF Bioscience Support Center | Downloads
 .
.