Batch trace workflow
With Batch Trace, you can trace over multiple images using a single Neurolucida 360 configuration. The program generates an .ASC or .DAT data file for each image processed. The following file formats can be processed: 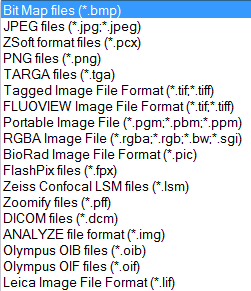
Access the workflow from Trace>Automatic>Batch Trace. 
The images to be processed must be set to the same µm/px scale and X/Y, and to the same Z step (for 3D images).
Prepare for the batch run
- In the 3D window, open an image stack representative of the image stacks you'll process with the batch run.
- Detect somas, trace with the automatic method, detect varicosities, spines and synapses as needed.
- Click the Settings button to save the settings used in Step 2. They will be used for the batch run.
- In the 3D Settings window, click Save current settings and enter a name for the configuration.
- Close the 3D window. You don't need to save the data file.
- In the standard window, go to the Trace ribbon and click Automatic>Batch trace to start the workflow.