Add a wedge for wedge analysis
Before using the wedge analysis tool in Neurolucida Explorer, you need to position a wedge over your tracing in Neurolucida 360software.
Procedure
- Open your data file.
- Open a sample wedge file to add to the data file.
- Select File>Open>Data file.
- Check Merge at the bottom of the window
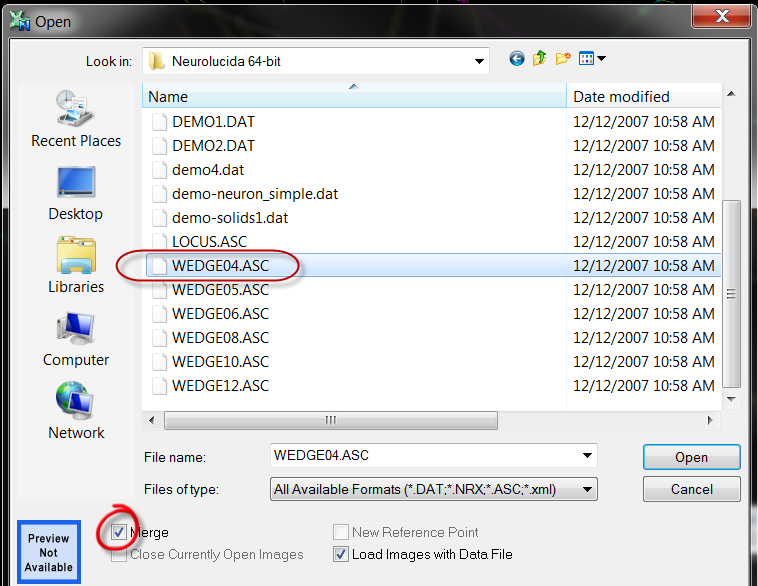 .
. - Select one of the sample wedge files (e.g., WEDGE08.ASC) from the Neurolucida 360 directory. The number in the file name refers to the number of wedges (e.g., 8 wedges for WEDGE08 or 8 spokes in 2D).
- Click Open. The wedge is displayed over the tracing
 .
.
- Move the wedge to an appropriate location.
- Click Trace>Edit>Select objects.
- Click the wedge to select it.
- Right-click and select Move selected contour.
- Drag the center of the wedge to change its location.
- Change the direction of the wedge.
- Click the wedge to select it.
- Right-click and select Rotate selected contour.
- Drag the mouse to rotate.
- Save and close the data file.
- Open the data file in Neurolucida Explorer software for analysis.