Preferences: AutoSave
Purpose
Neurolucida can generate backup
Access AutoSave preferences from File > Preferences > AutoSave.
AutoSave settings
Enable AutoSave: Check the box to create automatic backup copies of your
AutoSave only saves
Every ... minutes: Type a number into the box or use the arrows to indicate the number of minutes between periodic backups. If you set the interval to 5 minutes, a new backup file is created every 5 minutes, regardless of changes made.
Every ... data points: Type a number into the box or use the arrows to indicate after how many data points have been placed a backup file is created.
For backup purposes, a data point is an action related to tracing data.
- Set the value to 0 to disable this option.
- Each mouse click constitutes a single data-point event.
- The continuous tracing method enters many points in a single sweep. Each sweep constitutes a single data-point event.
Backup file location:
Click to open the Browse for Folder dialog. Navigate to and select a location for your backup
Click to open the selected folder in Windows File Explorer.
In addition to backup copies, the program generates a temporary
Recovering a backup
- Optional: If the file was created in Live Image mode, set the same reference point.
- Go to File> Preferences> AutoSave > and close the Preferences window.
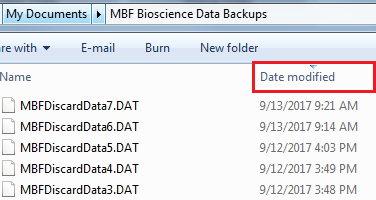
- In the Windows File Explorer window, click Date modified to sort by date.
- Click and drag the file you want to recover into the Neurolucida window to open it.
- Select
- Optional: Use Move>Joy Free to realign your tracings with the slide.